- Log in to Gmail on a browser (e.g., gmail.com).
- Go to Settings by clicking the gear icon in the top-right corner.
- Select See all settings.
- Go to the Filters and Blocked Addresses tab.

- Click on Create a new filter.
- In the pop-up page, input the following:
• From - noreply@broker.hub.westpac.com.au
• Subject - One-time verification passcode - Brokerhub
When done, select Create filter with this search.
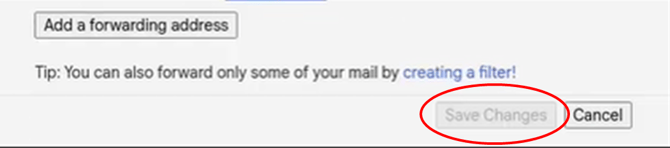
- In the next window, select Add forwarding address (if you don't have one set), or choose one of your saved addresses from the menu. Select Forward it to check box and input reprice@sherlok.com.au as the address you want the messages delivered. Lastly, Select Create filter.

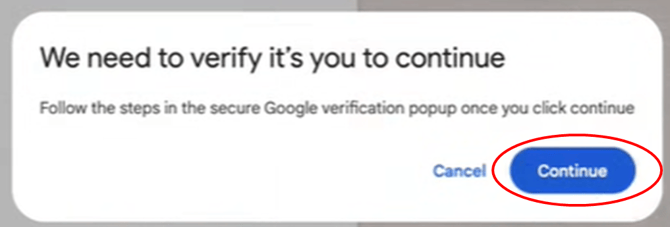
- Follow the prompt to verify the email, clicking Continue as prompted.
⚠️Important: Gmail's forwarding rule verification is time-sensitive. You can only complete the process after Sherlok has approved the request. Once initiated, you must keep the verification window open until the process is completed, or you may need to restart the setup.
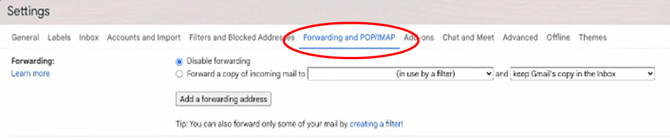
9. Once verification is complete, return to the Forwarding and POP/IMAP tab, and click Save Changes.